
Building Polyhedra: Small Stellated Dodecahedron
 You will need:
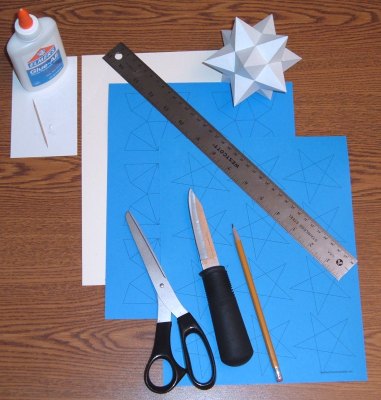
- The pattern printed on card stock. Page 1 contains 6 nets. You will need 1 copy of page 1. Page 2 contains stars to provide internal structure. You will need 1 copy of page 2.
- Scissors.
- Glue.
- Ruler with a steel edge.
- Knife.
- Toothpick.
- Pencil.
- Additional scrap card stock.
- Something to protect the table top.
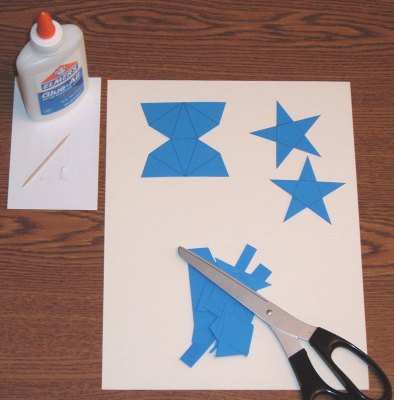
Cut out the pattern. Each net from page 1 will require 2 stars from page 2.
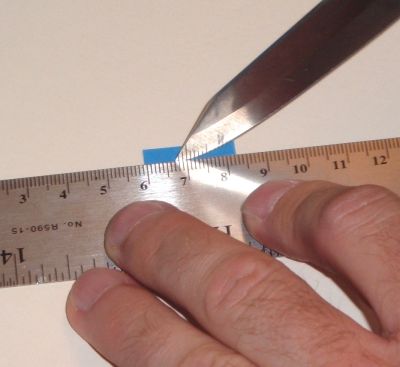
You will need to cut tabs from scrap paper. Use one edge of the net to mark the width of a strip of paper from which to
cut the tabs. You may need several of these strips. Cut them out and set them aside.

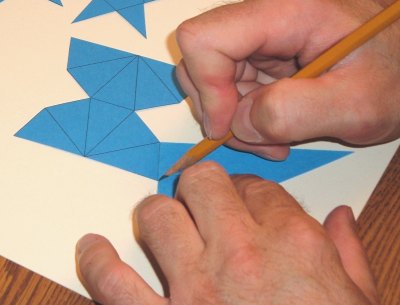
Score the net along each of the lines. Use the knife to cut about half way through the paper. Use the ruler as a guide.
This will help create clean, straight folds in the paper.
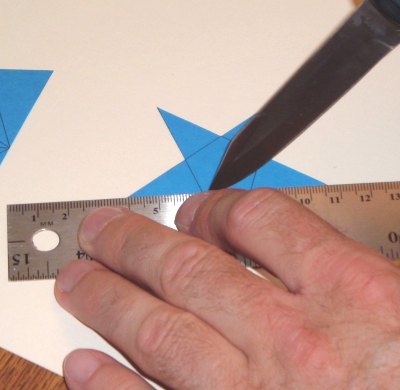
Score the stars along each of the lines.
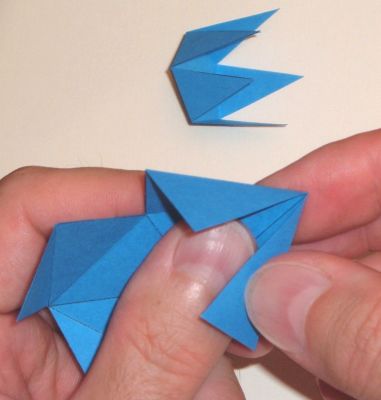
Pre-fold the net by folding each triangle toward the printed side and the halves of the net away from the printed side. Pre-fold the stars by folding the points away from the printed side.
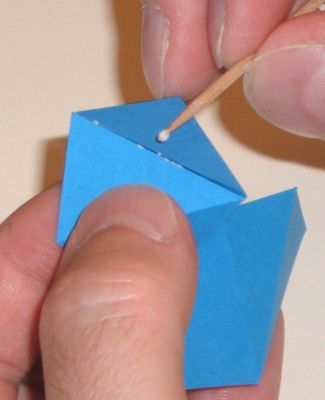
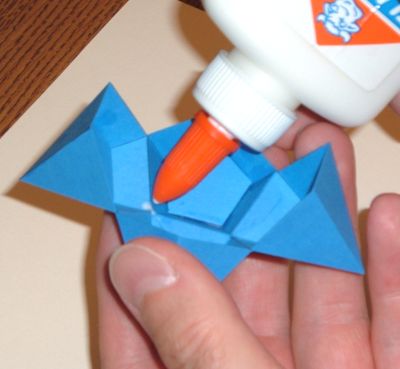
Smear a small amount of glue on each point of one of the stars.
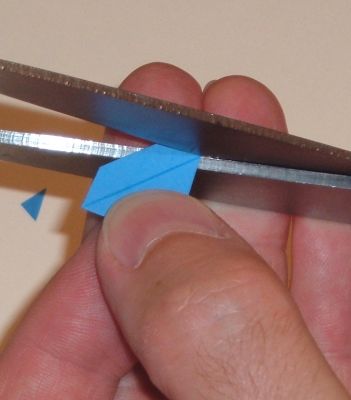
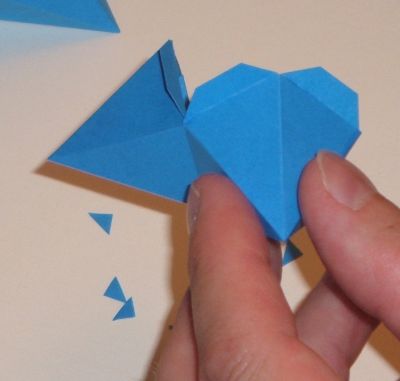
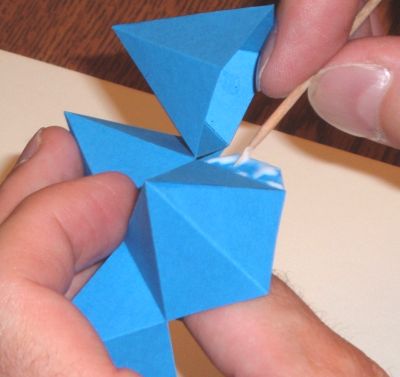
Fit the folded star into one side of the pre-folded net, points first.
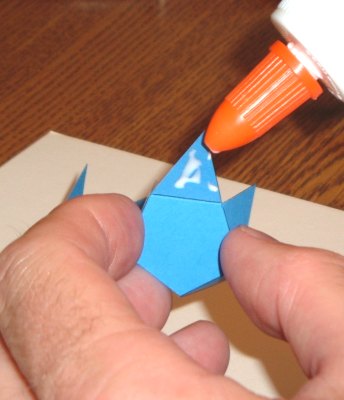
Push the folded star all the way into the folded net while forming the net to its correct shape around the star.
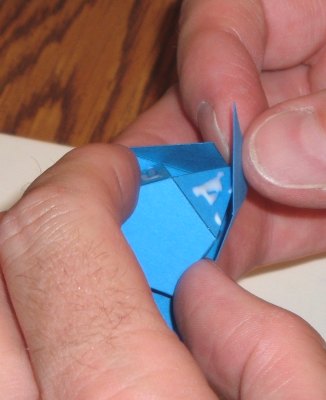
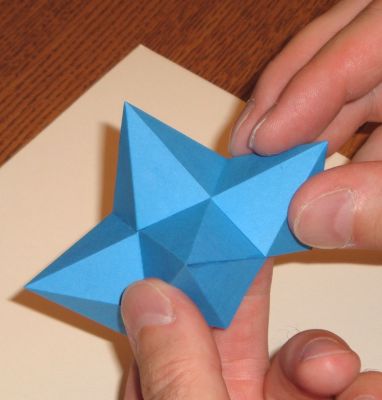
Line up the edges of the unglued seam and apply a thin bead of glue. Wipe off any excess glue.
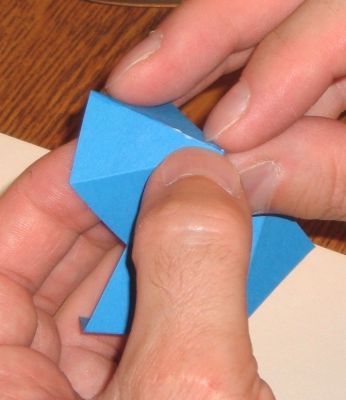
Hold the net closed until the glue sets.
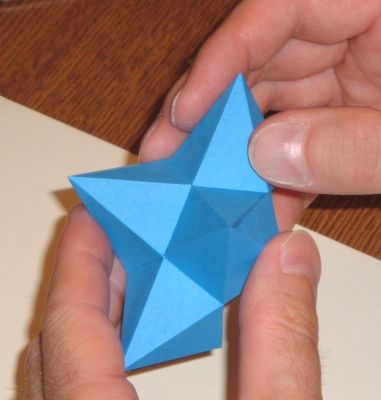
Glue a folded star into the other half of the net, and glue the seam.
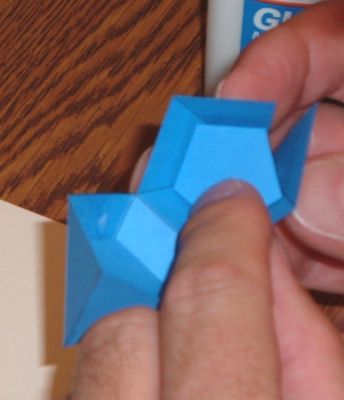
When each of the nets has been folded and glued, you can assemble them.
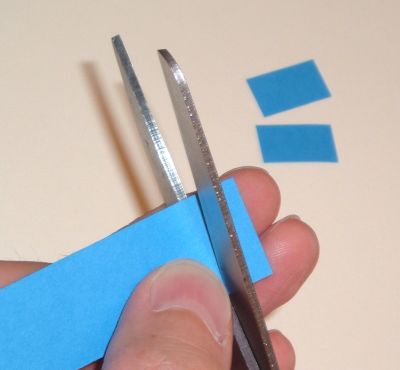
Cut tabs about 1 centimeter wide from the strip of scrap paper you cut out earlier. You will need three tabs to join the first two nets.
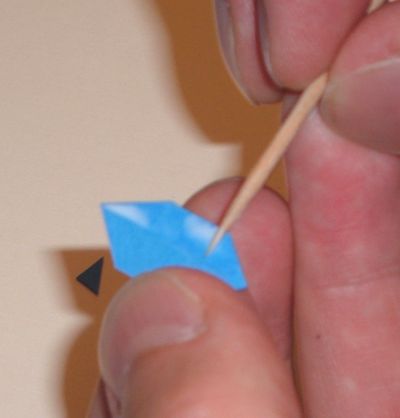
Score each of the tabs down the center the long way.
Cut the ends of each tab to a point. This keeps the tabs from overlapping as you assemble the polyhedron.
Smear a small amount of glue on one side of one of the tabs.
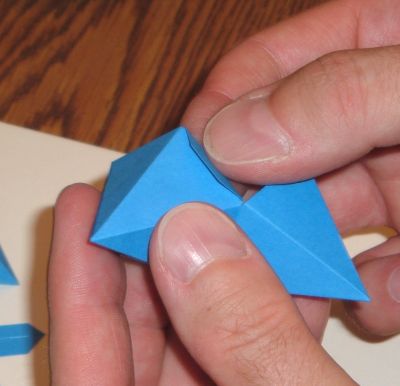
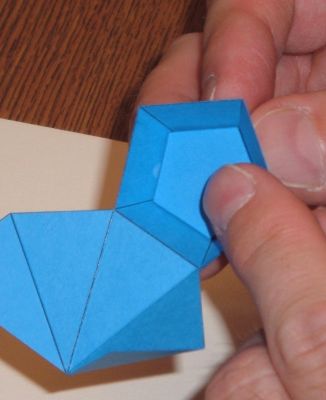
Pre-fit the nets together to determine which edges will be joined together. Glue the tab in place on one of the nets.
By folding the tab slightly around the edge of the net as you glue it in place, you will cause the tab to over hang the edge. This will help
the two nets to line up when they are glued together.
Glue the other two tabs in place the same way. As you continue assembling the polyhedron, some joints will require more than three tabs.
Each net has two halves. Smear a small amount of glue on the exposed sides of the tabs that will attach to one half of the next net.
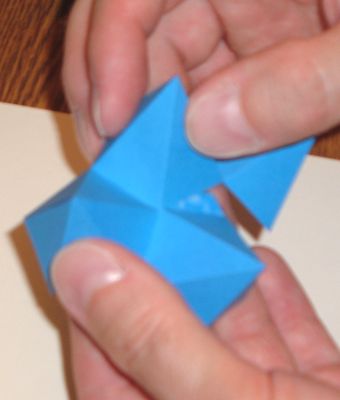
Glue on one edge of the second net. Push the tab in place inside the second net. Hold it in place for a second or two to let the glue set slightly.
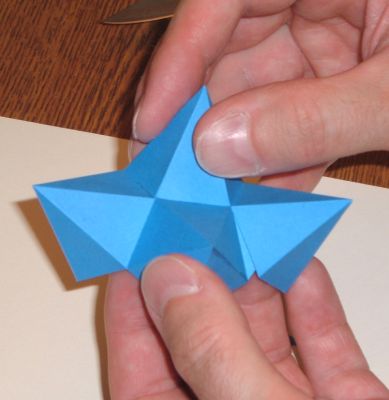
Line up the second edge and glue it in place.
Smear a thin layer of glue on the remaining tab.
Glue the remaining edge.
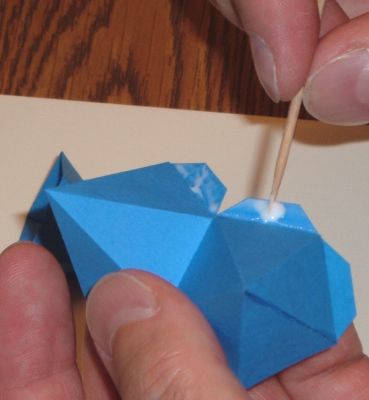
The polyhedron will still be weak at the points where three edges meet. Working with one of these points at a time,
dab a small amount of glue in this point on the inside of the polyhedron.
Push the sections of the polyhedron slightly toward the glued point. Hold them in place until the glue sets.
Continue gluing the nets together in the same way. Pre-fit each net before gluing it on. Special care should be taken while gluing on the last net,
since you will not be able to reach inside of the polyhedron to push tabs in place, or glue loose points.