Building Polyhedra: Great Icosahedron
 You will need:
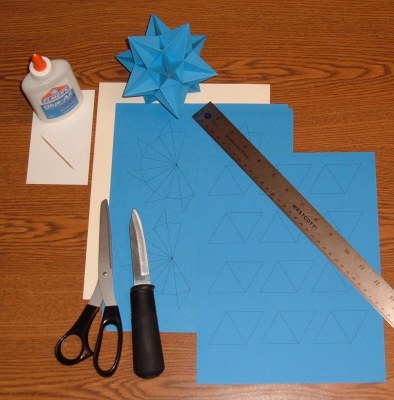
- The pattern printed on card stock. Page 1 contains 4 nets. You will need 3 copies of page 1 for a total of 12 nets. Page 2 contains triangles to provide internal structure. You will need 1 copy of page 2.
- Scissors.
- Glue.
- Ruler with a steel edge.
- Knife.
- Toothpick.
- Something to protect the table top.
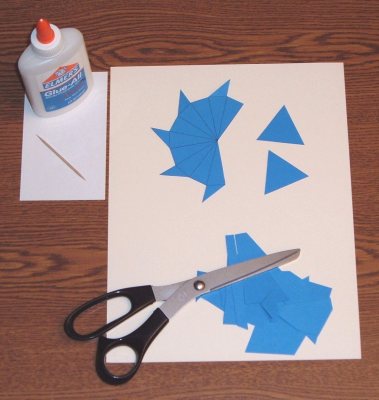
Cut out the net. To assemble one point on the great icosahedron, you will need one of the nets from page 1 and two of the triangles from page 2.
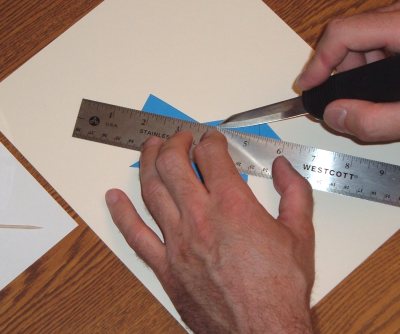
Score the net along each line. Use the knife to cut about half way through the paper. Use the ruler as a guide. This allows you to make clean, straight folds.

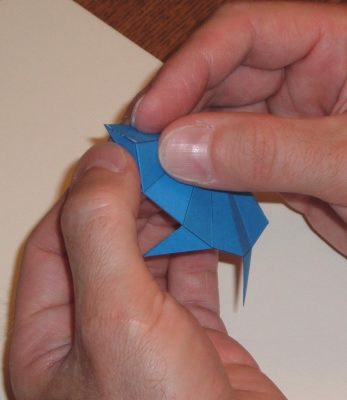
Pre-fold the net. The small triangles fold away from the printed side. The rest of the net folds like a paper fan. If you hold the net as shown with the printed side toward you, the top, right section will fold away from you.
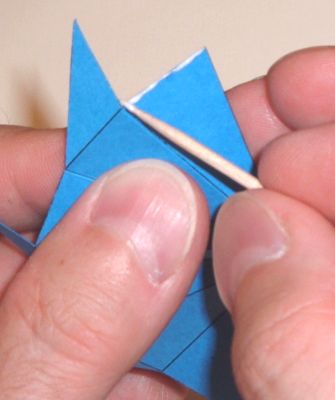
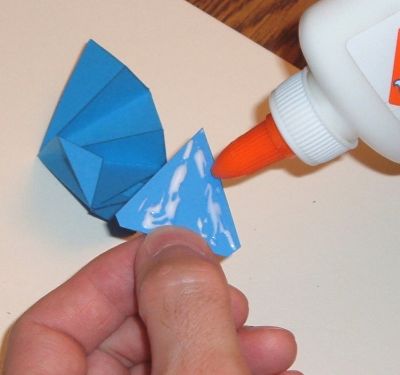
Use the toothpick to spread a thin line of glue along one edge of the net as shown. There should be just enough glue to cover the edge of the paper.
Fold the small triangle back so it meets edge-to-edge with the edge you just glued. Hold it in place until the glue sets.
Continue gluing the rest of the small triangles.
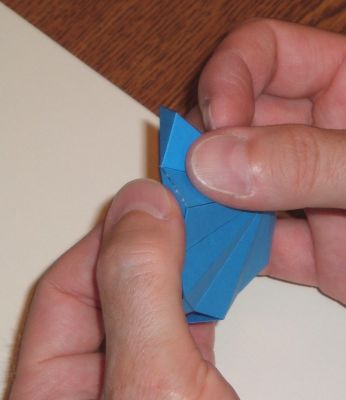
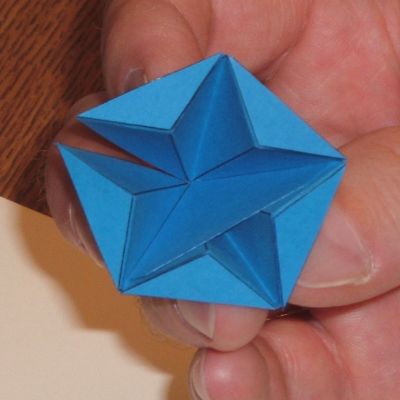
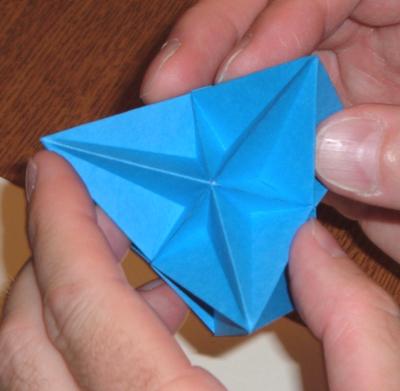
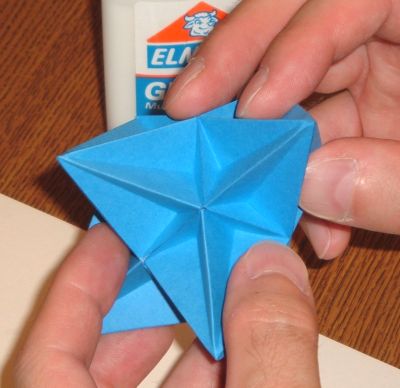
Carefully re-fold the point into the correct shape. Be careful not to pull the glued joints apart.
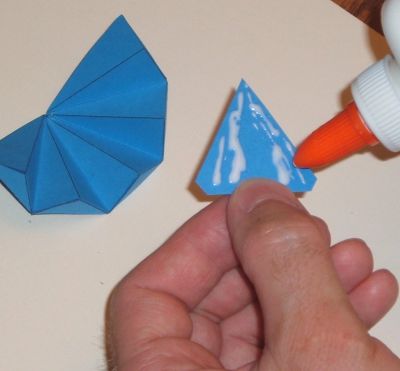
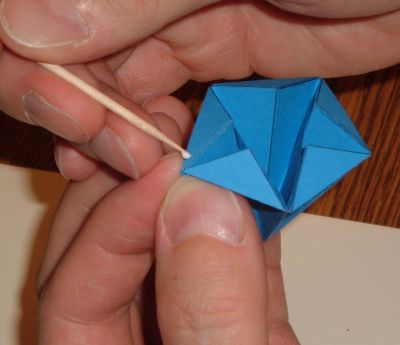
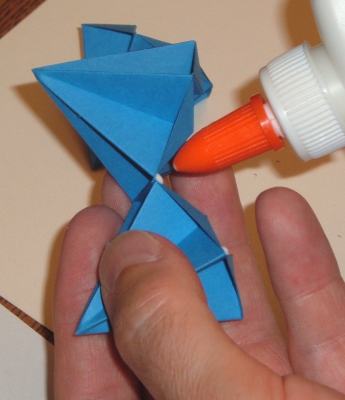
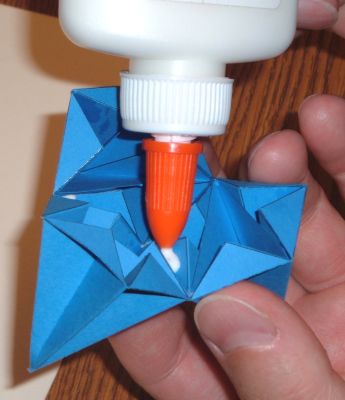
Trim two corners of one of the triangle pieces. Smear a small amount of glue on one side, avoiding the center area.
Fit the triangle piece into the point as shown. The untrimmed corner goes into the point. The sides of the triangle should fit into the folds of the point. This helps the point hold its shape.
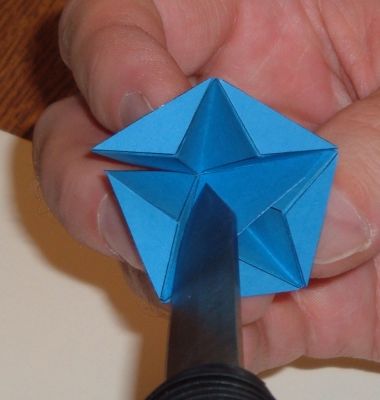
You can use the flat side of the knife to hold the triangle in place while the glue sets.
Trim two corners of the second triangle piece. Smear glue on one side, avoiding the center area.
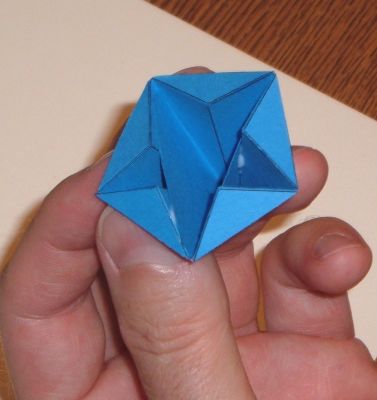
Fit the second triangle into the point as shown. The untrimmed corner goes into the point. The sides of the triangle should fit into the folds of the point.
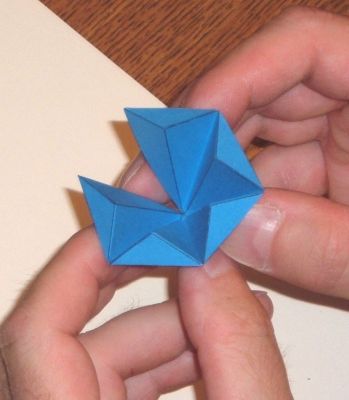
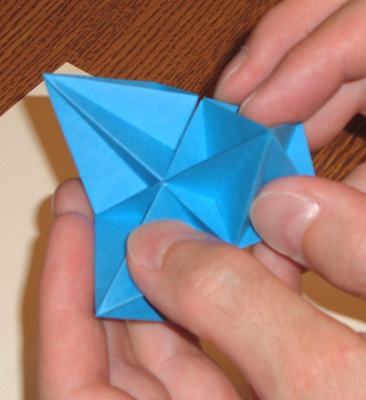
Line up the unglued edges of the point. Hold them together and apply a small dab of glue. Hold them together until the glue sets.
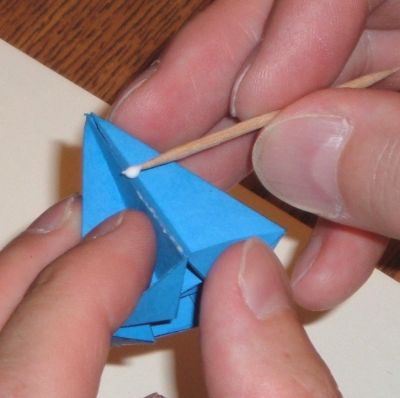
Line up the unglued edges of the point. Smear a thin layer of glue along the unglued edges. Wipe off any excess. Hold them together until the glue sets.
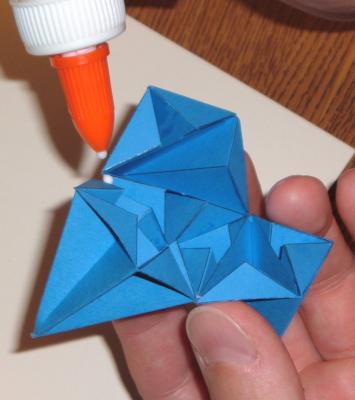
When the glue has set, you can run a heavier bead of glue inside the joint. Wipe off any excess that oozes through the joint.
When you have completed all 12 points, you can assemble them. The first three points are tricky to assemble.
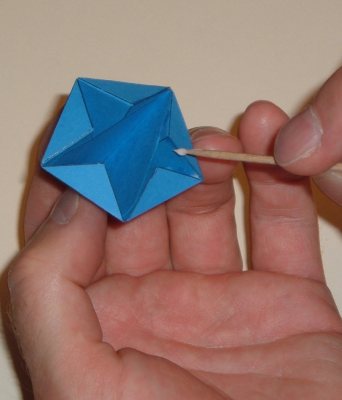
Dab a small amount of glue on one edge of one of the points. The picture shows two spots of glue in the corner. This allows a little wiggle room in case the points don't line up at the right angle at first, but it does not hold very well. Gluing a larger portion of the edge will hold better, but will not allow as much wiggle room.

Hold a second point against the first point until the glue sets. Line up the edges carefully. Hold the two points as close as possible to the correct angle.
Notice how the edge of one point and one of the folds of the other point form a straight line.
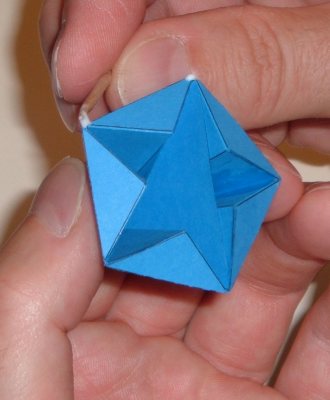
Prepare to glue the third point to one of the first two points. Don't try to glue to both of the points at the same time.
Apply a small amount of glue along one edge. This picture shows just one dab of glue in each corner to allow for a little wiggle room in case things don't line up quite right at first.
Gluing a larger portion of the edge will hold better, but will not allow as much wiggle room.
Hold the third point in place. Align the glued edges carefully. Try to hold the third point at the correct angle relative to both of the first two points until the glue sets.
Glue the second side of the third point. Align the edges carefully.
Hold the third point in place until the glue sets.
When the glue has set on the first three points, turn them over and apply a heavier layer of glue inside each of the joints.

Smear the glue into the joints with a toothpick. Wipe off any excess glue that seeps through the joint.
After the first three points have been assembled, you will have a solid structure to glue the rest of the points to. Whether to glue one edge of a point at a time,
or all edges that make contact at the same time will depend on how well each point fits into its place. If the polyhedron needs to be
pulled, stretched, squeezed, or otherwise reshaped for a point to fit properly, it will be easier to glue one edge at a time.
Pre-fit each point before applying glue.