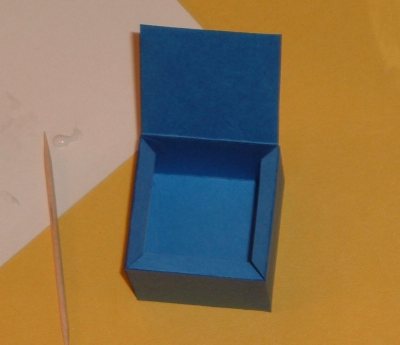
Building Polyhedra
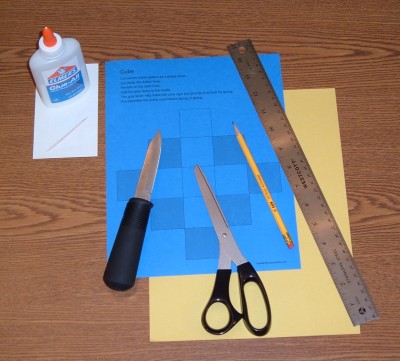 You will need:
- The pattern printed on card stock.
- Scissors.
- Glue.
- Ruler with a steel edge.
- Knife.
- Pencil.
- Toothpick.
- Something to protect the table top.
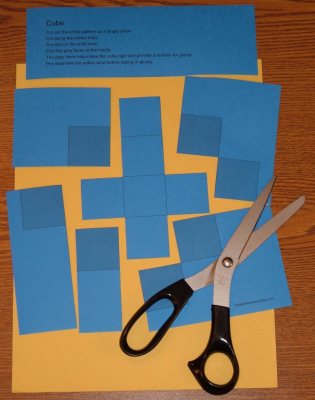
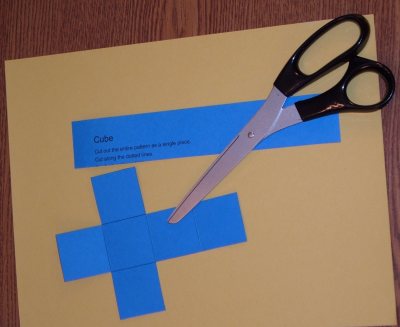
Cut the pattern out. Remove the gray sections that are intended as tabs. Rather than using the tabs that are printed on the pattern, you will be cutting tabs from the leftover scrap paper.
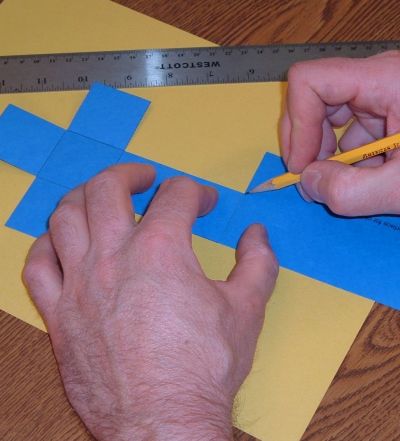 To make the tabs, use scrap paper left over after cutting out the pattern. Start by cutting a strip of paper as wide as one tab is long. Use one edge of the pattern to measure the width to cut this strip.
 Cut the strip out and set it aside.
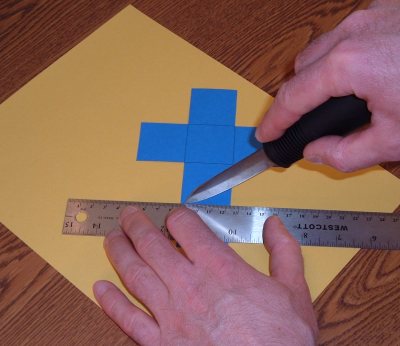 Score the polyhedron pattern along the lines. Use the knife to cut about half way through the paper. Use the ruler as a guide. This allows you to make clean, straight folds.
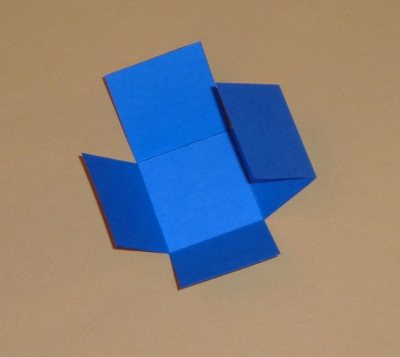 Pre-fold the polyhedron with the printed side in.
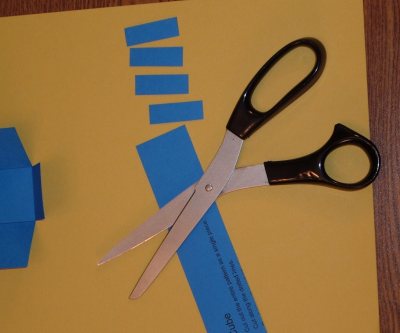 Cut tabs out of the strip of paper you prepared earlier. Each tab should be about 1 centimeter wide.
 Score each tab down the center.
 Trim the corners off of the tab. This prevents tabs from sitting on top of each other at the vertices of the polyhedron. In some cases trimming the corners of the tab is necessary to allow the tab to fit in place. Fold the tab along the score. If the tab has printing on it, fold the tab so the printing will be toward the inside of the polyhedron.
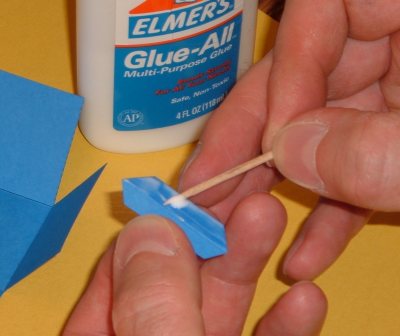 Spread a thin layer of glue on one side of the tab.
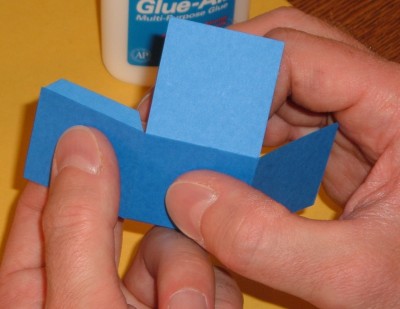 Glue the tab under one edge of the polyhedron. The fold on the tab should be set back from the edge just enough to allow adjoining edges to meet with very little noticeable gap. If the polyhedron is concave along an edge, glue in the tab with the fold set out slightly.
 Spread a thin layer of glue on the exposed half of the tab.
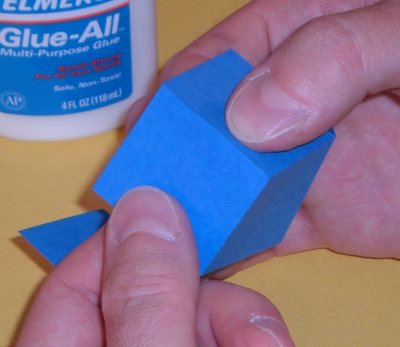 Glue the adjoining edge onto the tab, lining up the edges as close as possible.
 As the polyhedron takes shape, you may have to work with more than one tab at a time.